How to activate Teamleader
Configuration Teamleader in Twikey
Connect with Teamleader
In your Twikey environment navigate to Settings > Integrations and select Teamleader
If you are already logged in to Twikey, you can
directly open the configuration.
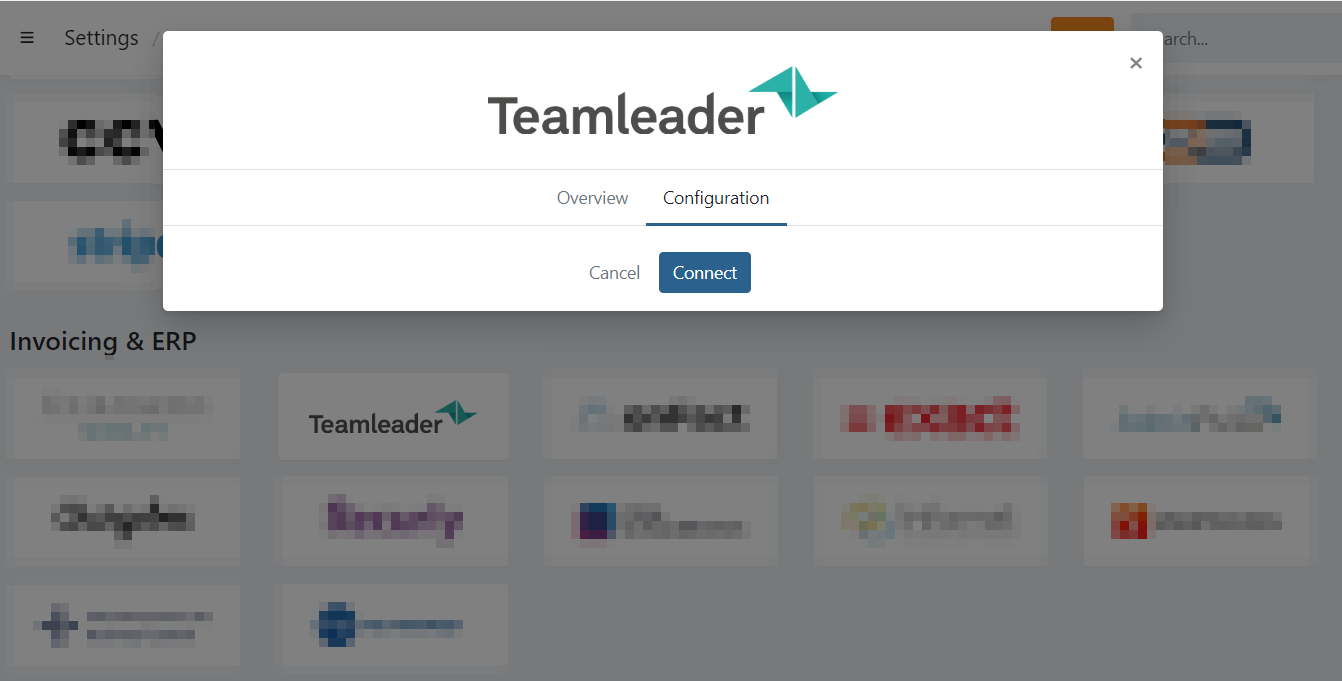
On the configuration tab click on Connect
You are redirected to the authentication page of Teamleader where you can Login and authorize Twikey with the permission to access your Teamleader customers and invoices.
Select a default profile
Navigate Settings > Integrations, select Teamleader and open the Configuration tab.
Select a default profile when importing new customers:
- When importing new customers, this is the default invoice-profile (containing all settings) registered on the customer.
- You can always change this to another profile when editing a customer.
Automatically import booked invoices
Enable this option if you want to automatically import invoices in Twikey when they are created in Teamleader.
Configuration on Teamleader's side
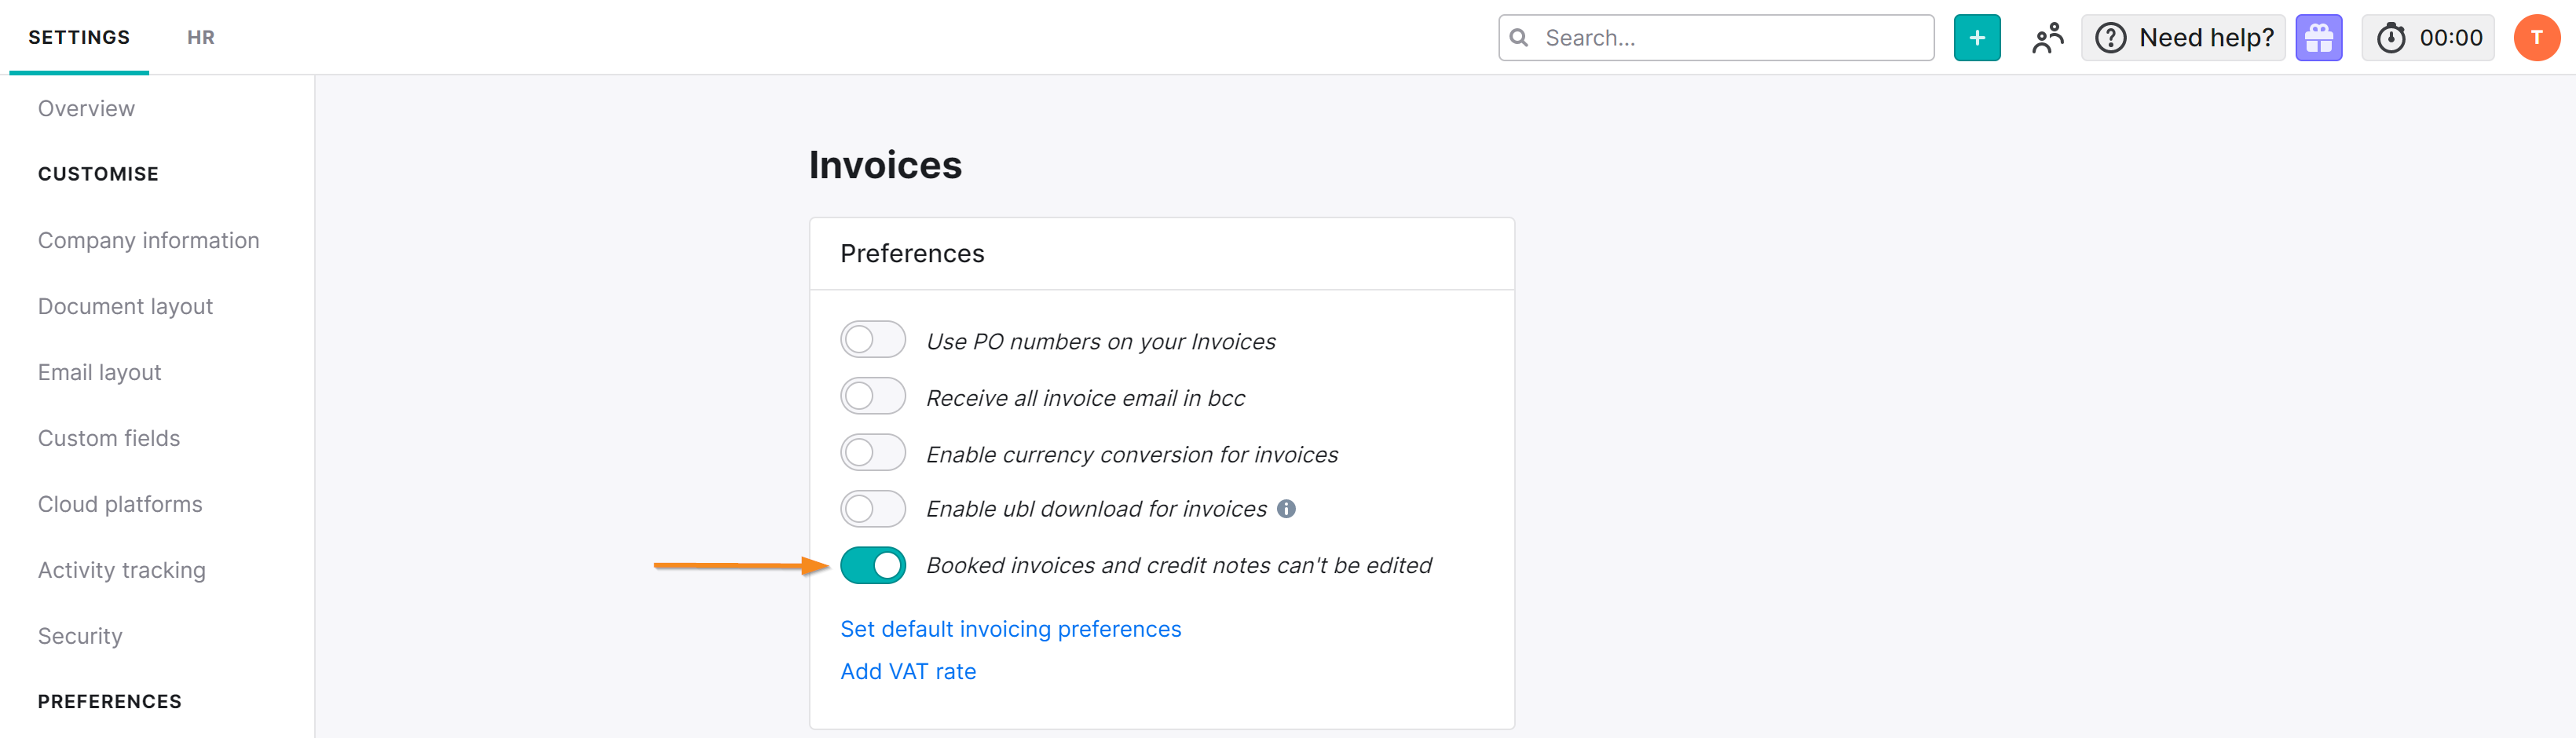
In Teamleader activate Strict-mode. This option will disable the possibility to modify your
invoices in Teamleader once they are booked.
This is important so that Twikey can update the invoices.
Navigate to Settings > Preferences > Invoices
Activate: 'Booked invoices and credit notes can't be edited'