
How automatic and manual invoice-to-mandate linking works
When working with invoices and recurring payment mechanisms like Direct Debit mandate (or Credit Card tokens), the workflow depends on the status of the mandate for the particular customer, but also the moment of invoice creation/import in Twikey.
Below is a clear overview of each scenario and the required actions.
Different scenarios when importing an invoice for a customer
With an active signed mandate
- If the customer number matches and the selected profile contains a valid signed mandate, a transaction is generated automatically during import.
- The system uses the most recently signed mandate within that profile.
- The collection is executed based on that mandate.
Without a signed mandate
- No transaction is created during import.
- Previously prepared (but unsigned) mandates are not used.
- If the customer signs a mandate through the payment page, the mandate is created at that moment and the invoice is linked automatically.
- If a mandate becomes available through any other means, the invoice must be manually linked to it to enable collection (see steps below).
When a customer signs an existing mandate after the invoice is imported
- No transaction is created during import because no valid mandate was linked at that time.
- If a mandate is signed afterward, the invoice remains unlinked.
- The invoice must be manually linked to the signed mandate to enable collection.
Create a transaction from an invoice by linking it to a signed mandate
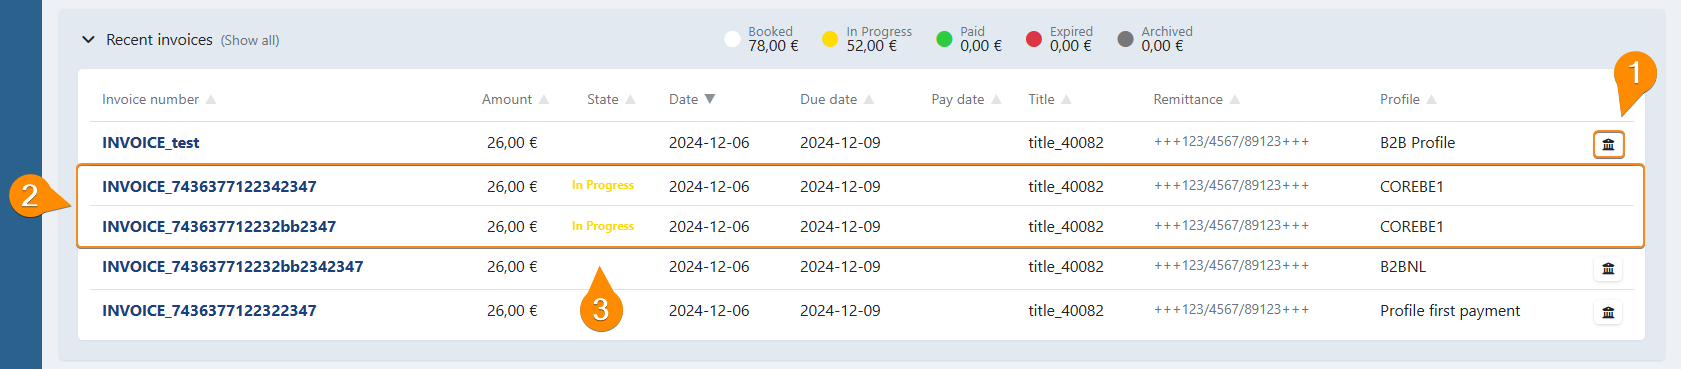
The invoice must be in Booked status for the Create Transaction action to be available. Invoices that are already In Progress, Paid, or Archived cannot be linked.
The invoice and the mandate must also belong to the same profile.
Via invoice detail
- Navigate to the invoice overview menu
- Select an invoice to go to the invoice details
- Click Create Transaction in the top menu
- Select the agreement you want to use.
- Select the requested collection date
- Confirm by clicking Create transaction
Via customer detail
- Navigate to the customer details
- Open the recent invoices
- Click on the bank icon on the right of the invoice line
- Select the agreement you want to use.
- Select the requested collection date
- Confirm by clicking Create transaction
After the transaction is created (automatically or manually):
- The invoice status changes to In Progress.
- The transaction becomes visible under Transactions > To be Sent, where it is ready for further processing.
This approach ensures invoices are correctly linked to valid agreements and collected without delay.
Notes
- It is not possible to create a transaction for an expired invoice (an invoice whose due date has passed).
- If the transaction is not being created automatically and the steps above do not resolve the issue, see Invoice not collected automatically — what to check for a full diagnosis guide.
Last Update: 2026-03-13