
About customers
- How to reach the customers overview
- The search bar and filters
- The utility buttons
- The list of customers
- Display limitations
The Customers menu is the central place where you manage all customer data within your Twikey environment.
From this screen, you can:
- View and search your full customer database
- Filter customers based on agreements, invoices, profiles, and more
- Create, edit, merge, import, or export customers
- Invite customers to sign agreements
- Manage invoice settings and communication details
In short, this menu gives you full operational control over your customer portfolio.
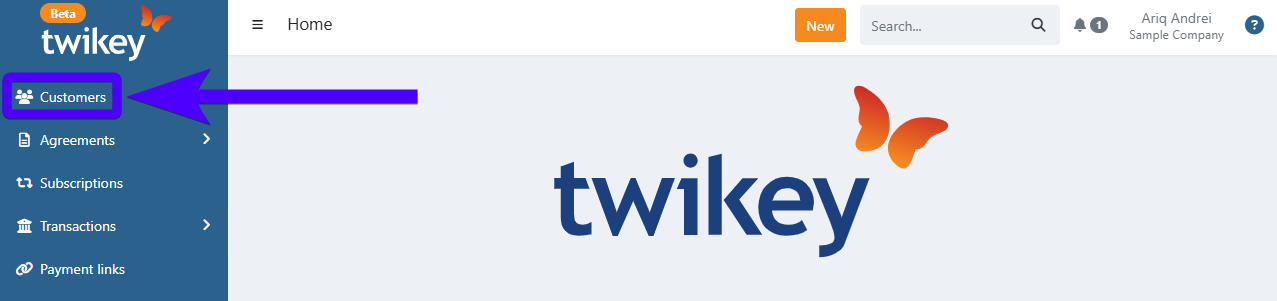
How to reach the customers overview
- Click on Customers on the sidebar.
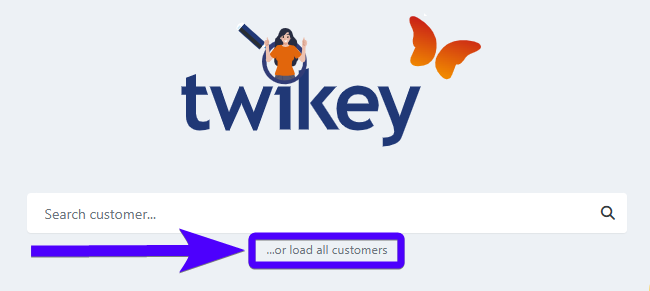
- Click on ...or load all customers.
The customers overview appears as follows:
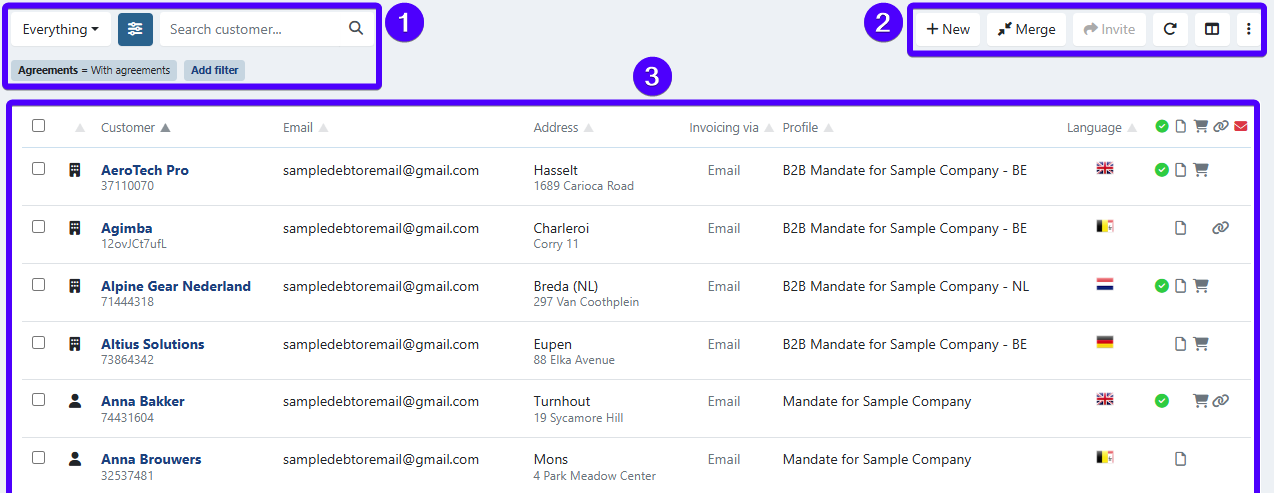
- The search bar and filters.
- The utility buttons.
- The list of customers.
Below, you'll find the explanation for each section of this screen.
The search bar and filters
The customer overview is equipped with a search bar and filters. The search bar is used to search for a specific customer.
Meanwhile, the filters are used to filter out the customers that are displayed on the list of customers based on certain pre-selected attributes (for example: company-type customers only).
This section consists of four items:
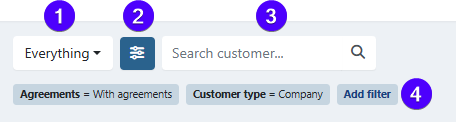
- The standard preset filter.
- The advanced filter.
- The search bar.
- The list of filters that are currently being used. To apply an extra filter, click on Add filter.
The standard preset filter
The standard preset filter allows you to quickly segment your customer database using frequently used criteria.
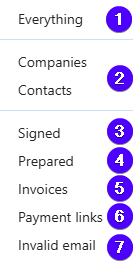
- Display all customers.
- Show only company-type customers or person-type (contact) customers.
- Show customers with signed agreements.
- Show customers with prepared agreements.
- Show customers with invoices.
- Show customers with payment links.
- Show customers with an invalid e-mail address.
This filter is ideal for day-to-day follow-up and quick portfolio checks.
The advanced filter
The advanced filter allows you to refine your customer list using more detailed and specific attributes.
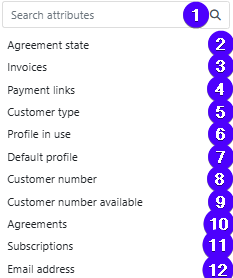
- Use the search bar to search for a specific attribute
- Filter by agreement state
- Filter based on the presence of invoices
- Filter based on the presence of payment links
- Filter by customer type (company or person)
- Filter by the profile in use
- Filter by default profile
- Filter by customer number
- Filter by presence of a customer number
- Filter based on the presence of agreements
- Filter by number of subscriptions (none, one, or multiple)
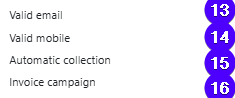
- Filter by e-mail address
- Filter by valid e-mail address
- Filter by valid mobile phone number
- Filter by activation of automated invoice collection
- Filter by invoice billing run (only available if configured)
You can combine multiple advanced filters to precisely target a specific customer segment.
The utility buttons
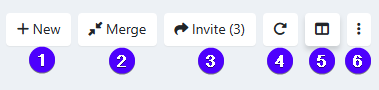
The utility buttons allow you to perform actions on your customer database.
- Click to create a customer
- Click to merge customers
- Click to invite your customers to sign an agreement
(At least one customer must be selected for this option to be active.) - Reload the customer list
- Select which columns are displayed
- Open additional actions via the three-dot menu
![]()
- Import customers.
- Export selected customers.
(One or more customers must be selected.) - Edit invoice delivery method for selected customers.
(One or more customers must be selected.)
To update the delivery method in bulk:- Check the checkboxes next to the customers you want to update (or select all).
- Click the three-dot icon and select Edit invoice delivery method.
- Choose the desired delivery method from the dropdown.
- Click Save.
- Navigate to a specific page in the customer list
- Reset all applied filters (both standard and advanced)
The list of customers
This section displays your customers based on the active search and filter configuration.
The overview shows a maximum of 500 customers at once. If your database exceeds this number, only a subset will be displayed.
If a specific customer is not visible:
- Use the search bar
- Apply additional filters
Available columns
You can configure visible columns via the column settings button in the utility section.
![]()
![]()
- Selection checkbox (including “select all” at the top)
- Customer type (company or person)
- Customer name
- Customer e-mail address
- Customer address
- Invoice delivery method
- Default profile
- Customer language
- Signed agreements (link)
- Prepared agreements (link)
- Invoices
- Payment links
- Invalid e-mail address
Display limitations
If too many customers are displayed, columns 9–13 may automatically be hidden, even if enabled.
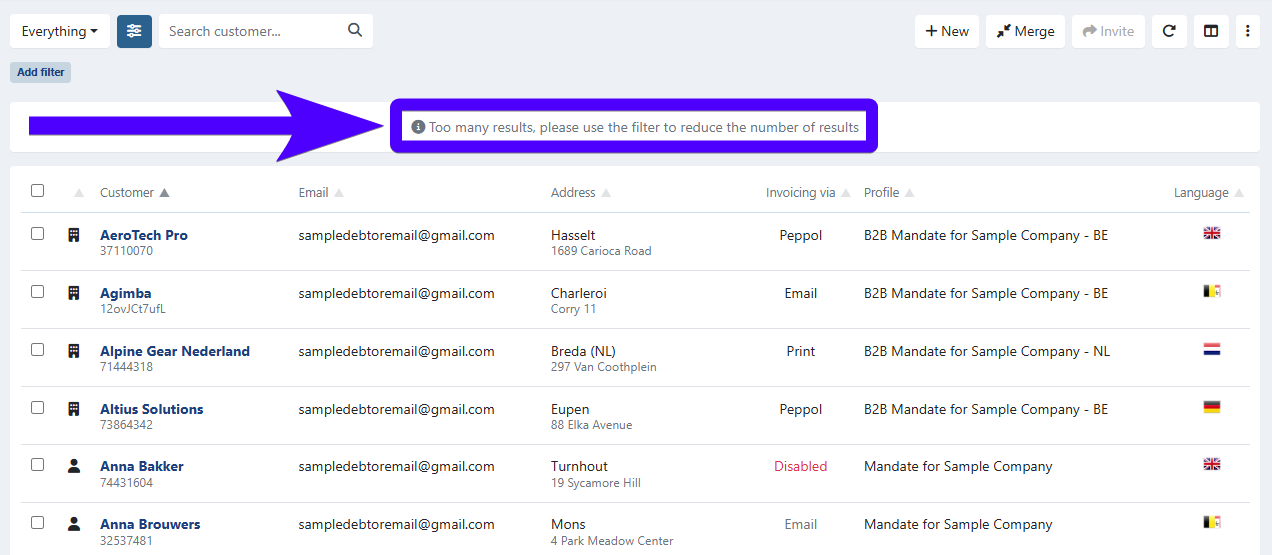
In that case, refine your results with the search bar and filters to restore full visibility.